15 Dec Polished Concrete Countertops and Surfaces
It started a while back as the occasional enquiry but these days it often feels like we spend as much time polishing concrete surfaces as we do polishing floors. From polished concrete countertops in the kitchens of Margaret River, to bathroom basins in Busselton, to fireside hearths in Dunsborough, we’ve been travelling the South West polishing an array of concrete surfaces. So what is driving the trend toward using concrete surfaces throughout the home and what is involved with incorporating it within your own house?
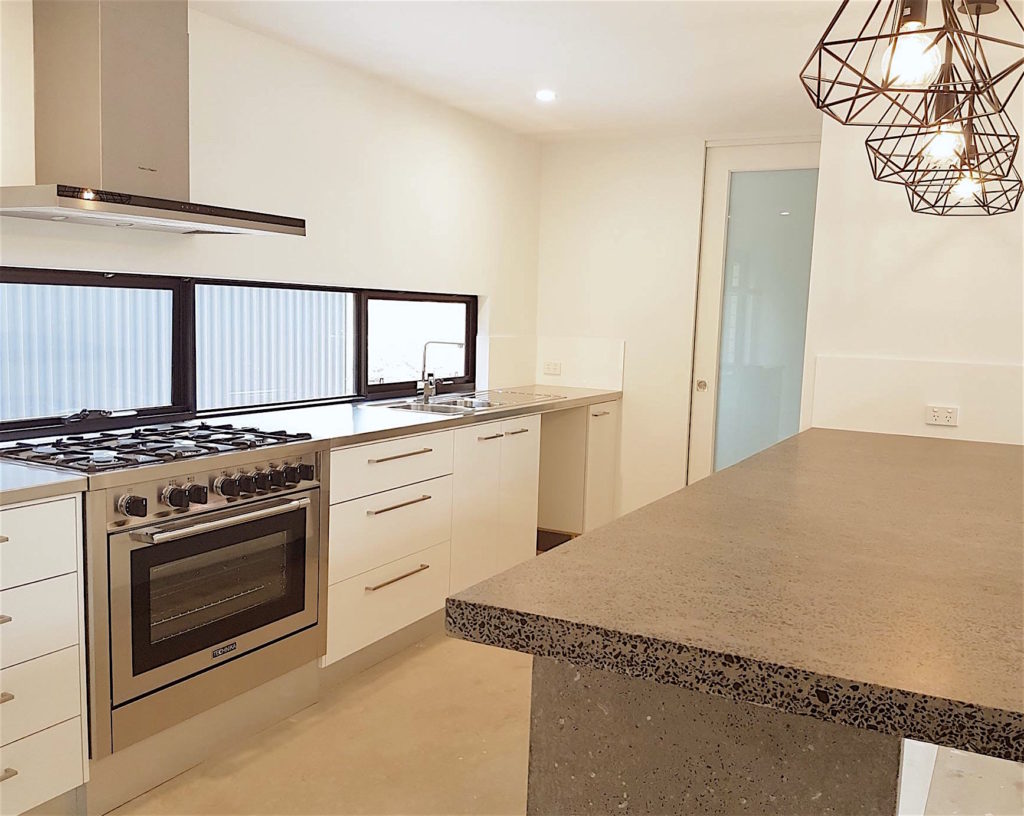
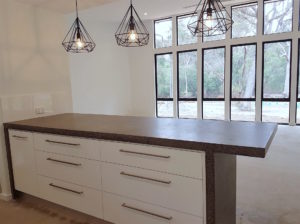
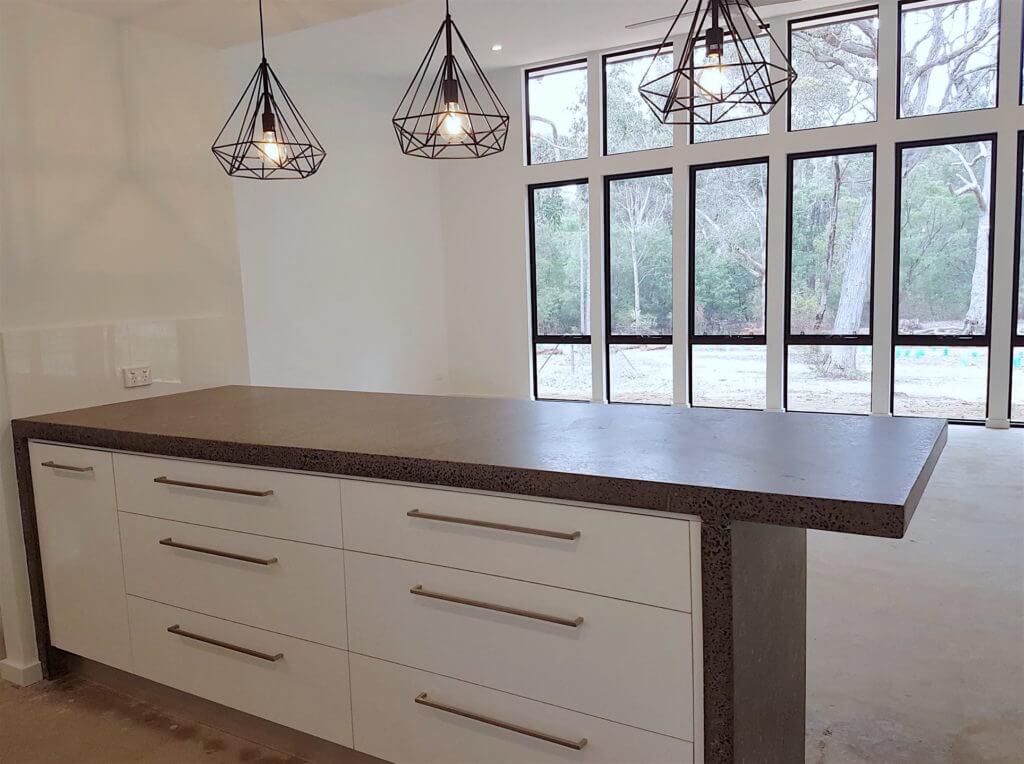
Visually striking yet functional and durable kitchen countertop poured and designed by Vanguard Construction and polished by The Polished Concrete Company
THE ADVANTAGES
- Concrete is naturally durable and hardwearing and the concrete polishing process further improves on these characteristics through densification and grouting.
- When correctly formed, poured and finished, concrete is truly beautiful and unlike engineered products such as laminate or Caesarstone no two pieces of concrete are the same.
- If the variations occurring naturally in concrete aren’t enough for you, there are a variety of dyes, oxides and aggregates that can be added to customise your look. For a truly unique statement concrete can be inland with wood or metal or hand seeded with smaller items such as glass or keepsakes.
- Concrete can be site-cast or pre-cast into an enormous range of shapes, sizes and styles.
- Concrete is more affordable when compared with other similarly hardwearing, aesthetically appealing products such as granite or marble.
THE PROCESS
STEP 1. DESIGN
Settling on a design is probably the most difficult part of the process. From free-floating fireplaces and staircases, to wave-edged kitchen bench tops the options are practically limitless. For awe inspiring concrete inspiration check out the work of US based concrete design guru Fu-Tung Cheng. The design phase is also the time to make sure that any underlying cabinetry will be able to support the weight of your polished concrete countertop.

STEP 2. POUR
It is certainly possible to pour your own polished concrete countertops but be warned – there are a number of stages in the process where things could go horribly wrong. As with most things in life practice makes perfect, so best to employ a professional who has many previous concrete pours under their belt.
STEP 3. POLISH
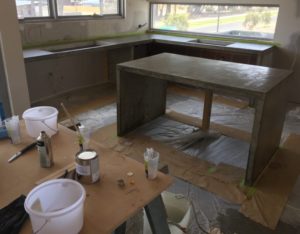
Once the concrete is poured and cured, polishing can start. It can take almost as long to hand polish a site-cast polished concrete countertop or hearth as it does to machine polish the floors of a small house. The process is essentially the same – concrete is densified, grouted with concrete slurry to fill any small holes, ground to expose the correct level of aggregate and then polished with progressively finer diamond tooling to achieve the desired level of gloss (the finer the diamond, the higher the gloss).
STEP 4. SEAL
The range of sealers on the market is diverse and confusing but when it comes to concrete surfaces it is essential to use a sealer that is purpose specific. Different areas of the home call for different qualities – penetrating sealers work best on hearths, as they will not melt beneath falling embers. In the kitchen it is essential that all products are food-grade quality. In the past wax was generally used on kitchen counter tops, as it was food safe and easy to apply. However wax is not heat, stain or scratch resistant and requires regular reapplication. Fortunately there is now a new wave of hybrid sealers available for kitchen countertops. These sealers are food-grade, heat resistant and also form an impenetrable barrier that protects against staining. As always, be sure to hire a professional to seal your concrete surfaces – the quality of the sealer application will make a world of difference to the final look.
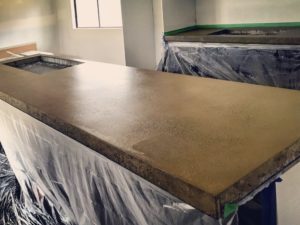
Like polished concrete floors, concrete countertops can be polished to a matt, satin or high gloss finish.
STEP 5. MAINTAIN
Polished concrete countertops and surfaces are usually robust enough to withstand most bumps and knocks so don’t worry if you drop the occasional pot or pan onto your kitchen bench.As a general rule, treat you your concrete countertop or hearth with care, just as you would any surface in your home. Wipe up spills as they occur, particularly acidic or oily substances, and always clean with a pH neutral cleaner.


